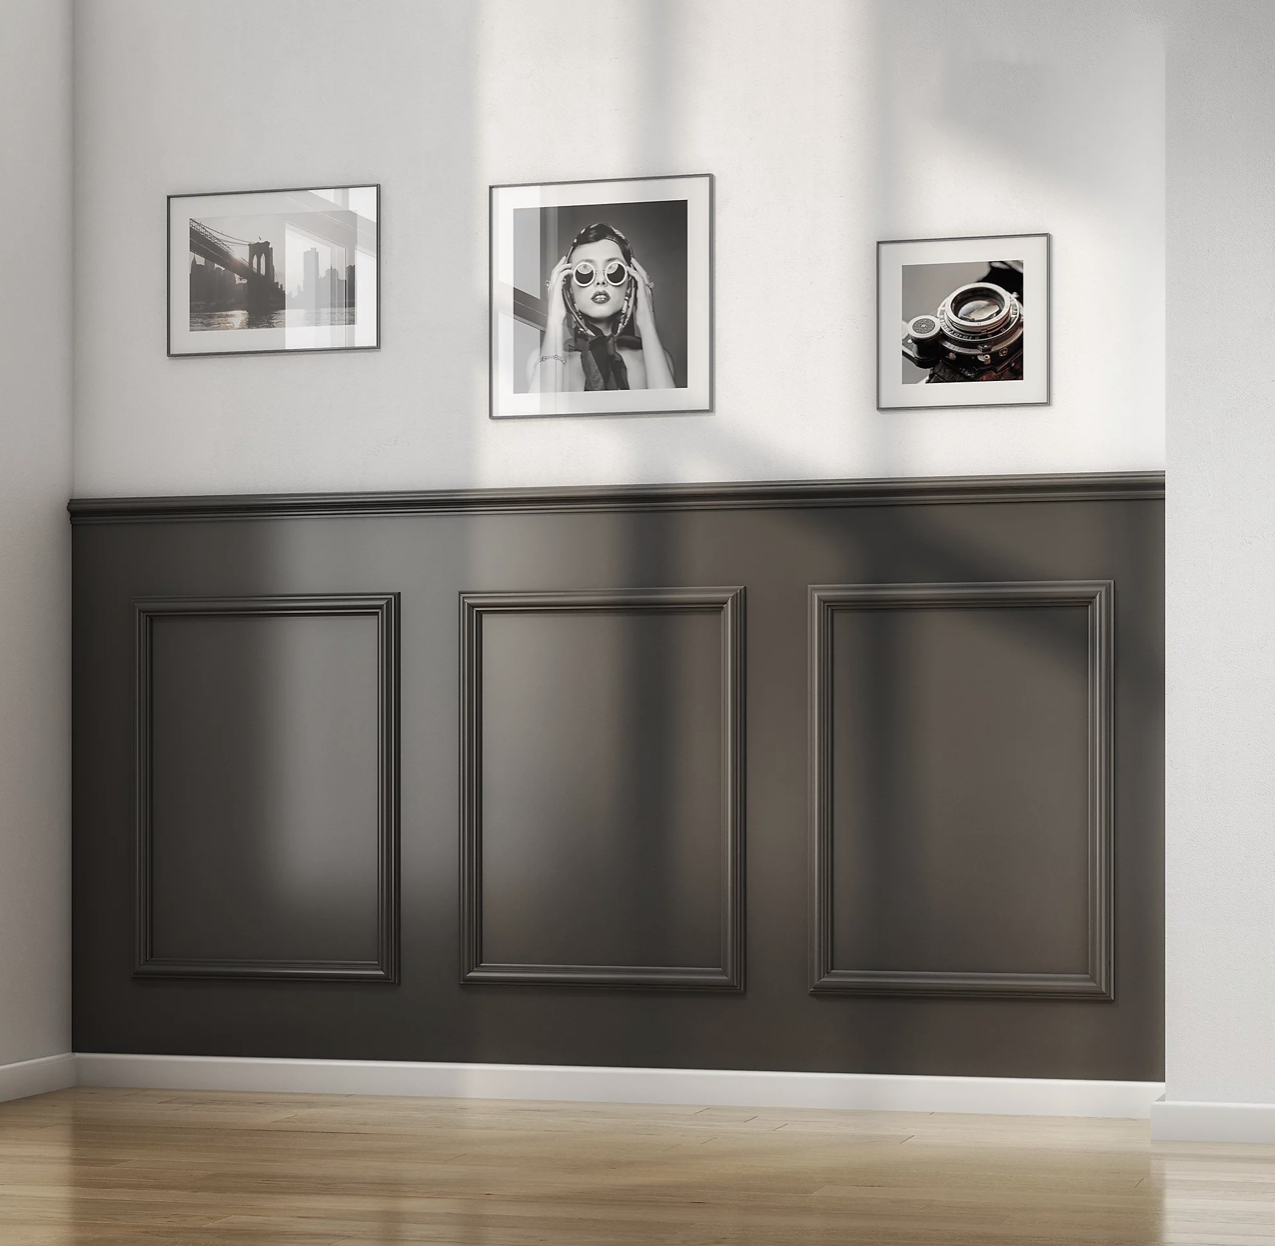
Panelling a room is a great way to add character and charm to your living space. It's also a DIY project that you can tackle with a few basic tools and some basic carpentry skills. Here is a step-by-step guide to help you panel a room:
- Measure the walls: Start by measuring the height and width of the walls you want to panel. This will help you determine how much panelling material you need to purchase.
- Choose your panelling: There are many types of panelling available, such as wood, MDF, or PVC. Choose the type that best fits your budget and design preference.
- Prepare the walls: Clean the walls and ensure that they are smooth and free from any protruding nails or screws. Sand rough spots and fill in any holes or gaps with putty or filler. Allow the filler to dry before sanding it smooth.
- Cut the panels: Measure and cut the panels to fit the height and width of the wall. Leave a small gap at the bottom and top of the panels to allow for expansion.
- Install furring strips: Install 1x2-inch furring strips horizontally on the wall, spaced at 16 inches apart. Use a level to ensure that they are straight.
- Install the panels: Apply construction adhesive to the back of each panel and press it firmly onto the furring strips. Use a nail gun or tacs to secure the panel in place. Be sure to nail it in the grooves of the paneling to hide the nails.
- Continue panelling: Repeat the process of cutting, fitting, and installing the panels until you reach the end of the wall. Use a saw to cut the final panel to size.
Finish the panelling: Install caulking around the edges of the panels to give it a polished look. Fill any gaps between the panels with caulk and paint or stain the panelling to your desired color.
- Clean up: Remove any excess adhesive or nails from the paneling and the walls. Sweep or vacuum up any sawdust or debris from the installation process.
That's it! Following these steps will help you create a beautiful and elegant panelling in your room


